Premier Landscaping Company in Guelph, Riverwood Landscape
Our Mission is to fix contracting and deliver an unforgettable customer experience.


Contracting is broken!
Or at least the average customer's experience is. Have you tried to hire a contractor and faced these issues before?
- Missed calls
- Unreturned voicemails
- Ignored Emails
- "No Shows" and late arrivals
- General Lack of communication
- Weeks to get an estimate!
The list goes on. We've experienced both sides as a contractor and a client. Our goal is to fix contracting by improving communication, showing up on time, calling you back, and fulfilling our commitments and promises.
But we don't stop there, our team constantly seeks new ways to improve and innovate. Our clients are always blown away, our reviews show it.
WHY CHOOSE US

Our skilled landscapers can take care of your Guelph commercial property all year long. From maintaining your business’ lawn and gardens to clearing snow from the parking lot, we can help.

The Riverwood team is dedicated to helping property managers and business owners. That’s why we provide responsive communication and are radically transparent with our clients. This ensures that you stay informed about your property and that our service is up to your standards.

Unlock the full potential of your property with our comprehensive maintenance packages. When you have a contract with us, you gain access to a range of additional services tailored to enhance curb appeal. From revitalizing lawns through sod and hydroseeding to expert planting and landscape design, we're dedicated to maximizing the beauty and value of your organisation’s outdoor space.

We are a trusted and reliable landscaping company. Many of our past customers across Guelph and KW recommend us because of our professional, reliable and efficient service. Don't trust our word for it, trust our customers'!
CALL US TODAY!
We are dedicated to providing quality lawn care and landscaping services to customers in Guelph, Ontario and the KW area. Call us today for a free quote!
Expert Lawn Care in Guelph, Ontario
Riverwood Landscape strives to provide reliable and quality service to our customers in Guelph and the surrounding areas in southwestern Ontario. Since 2017, we’ve become a well-established landscaping company that is fully trained and experienced in every aspect of property maintenance and lawn care..
Our team is dedicated to ensuring that our clients are 100% satisfied with our lawn care services. We prioritize involving them in every step of the way, tailoring our approach to their specific budget, objectives, and vision. After completing our maintenance or project work, we conduct thorough follow-ups to ensure our services meet the high standards expected in Guelph’s commercial and condominium sectors. By treating every property as our own, we’ve earned the trust of a loyal clientele who rely on us as their preferred landscape maintenance partner for the long term.
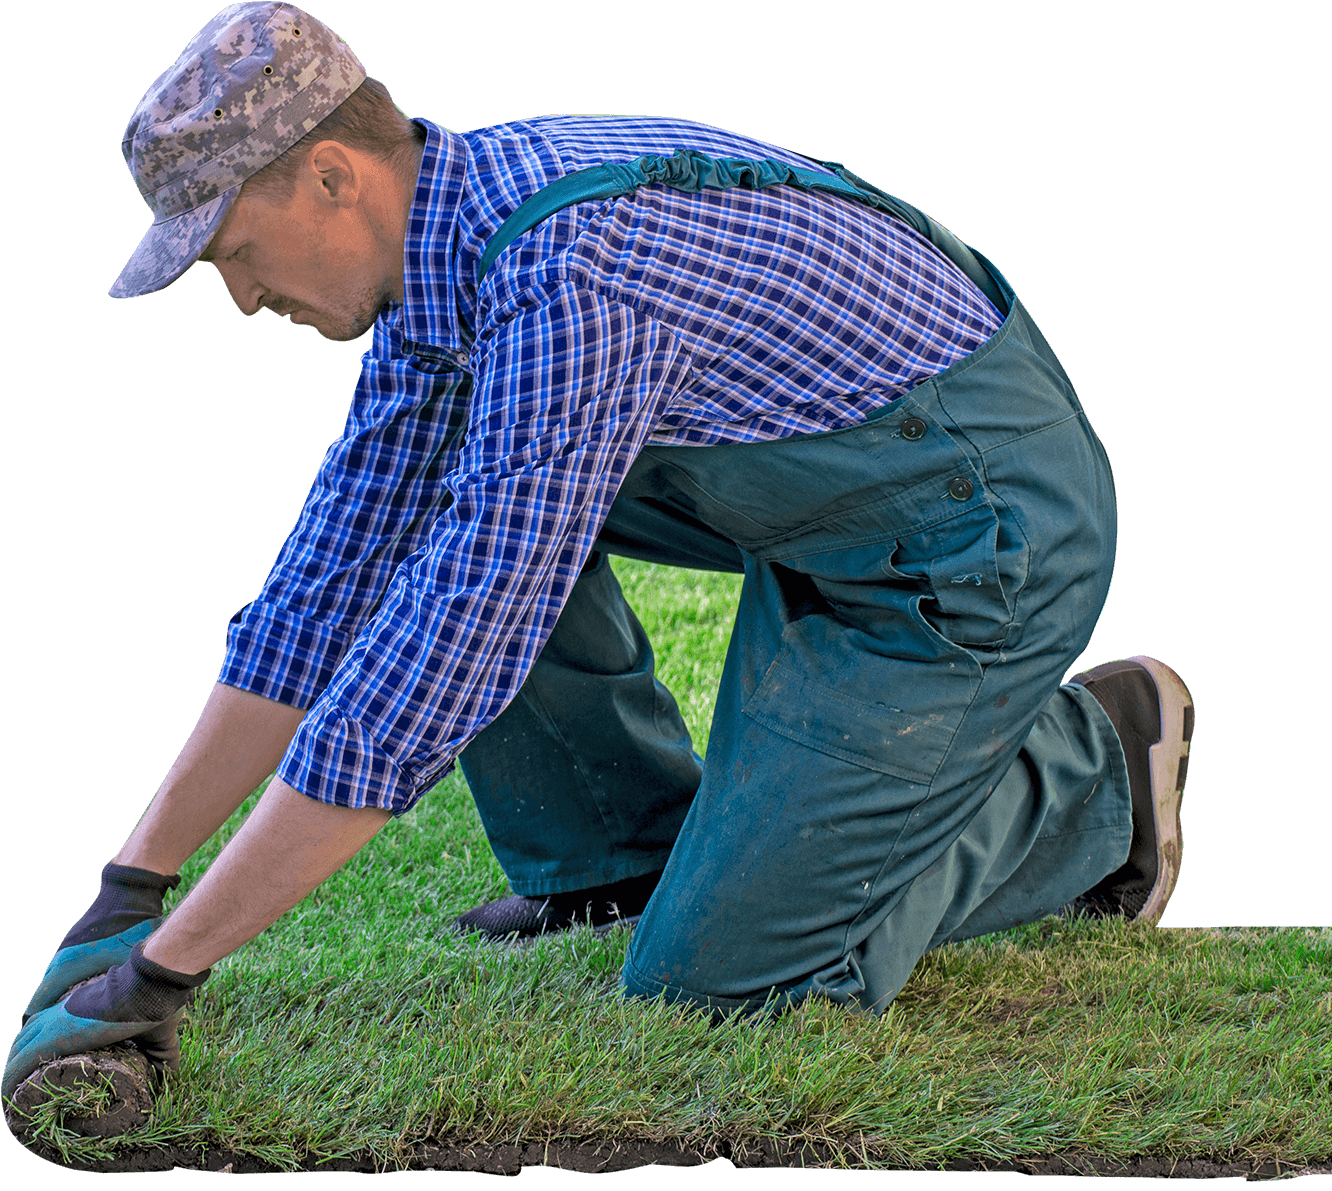

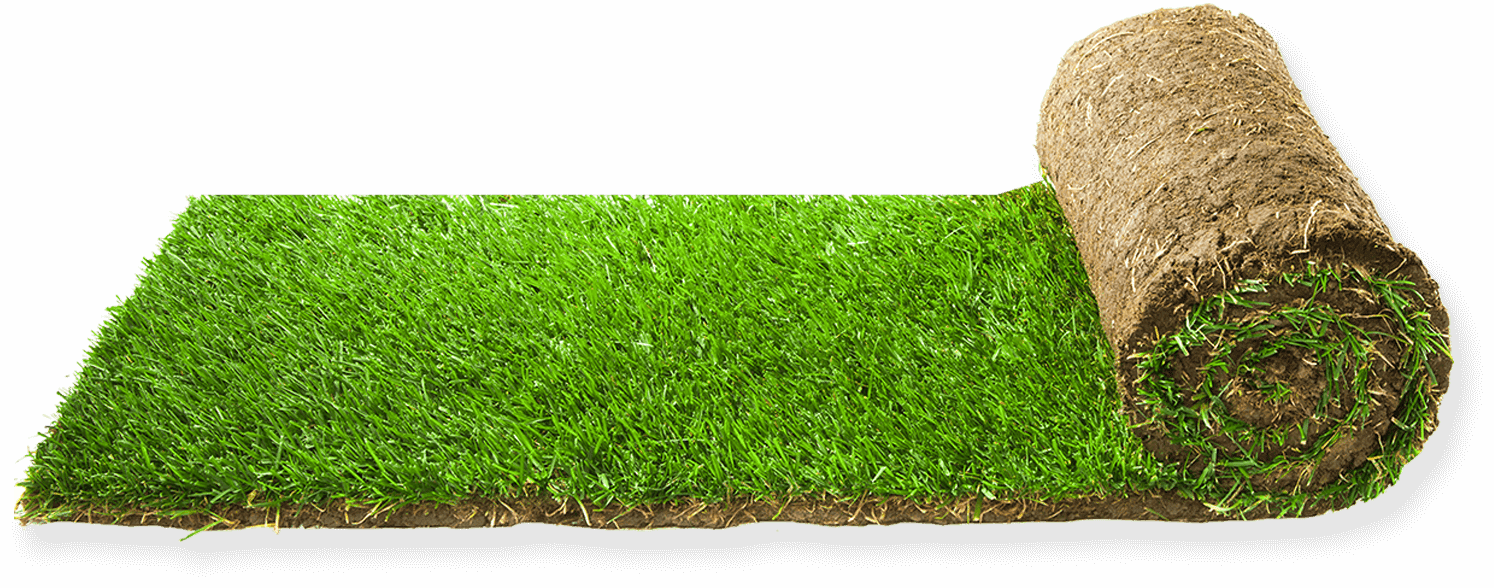
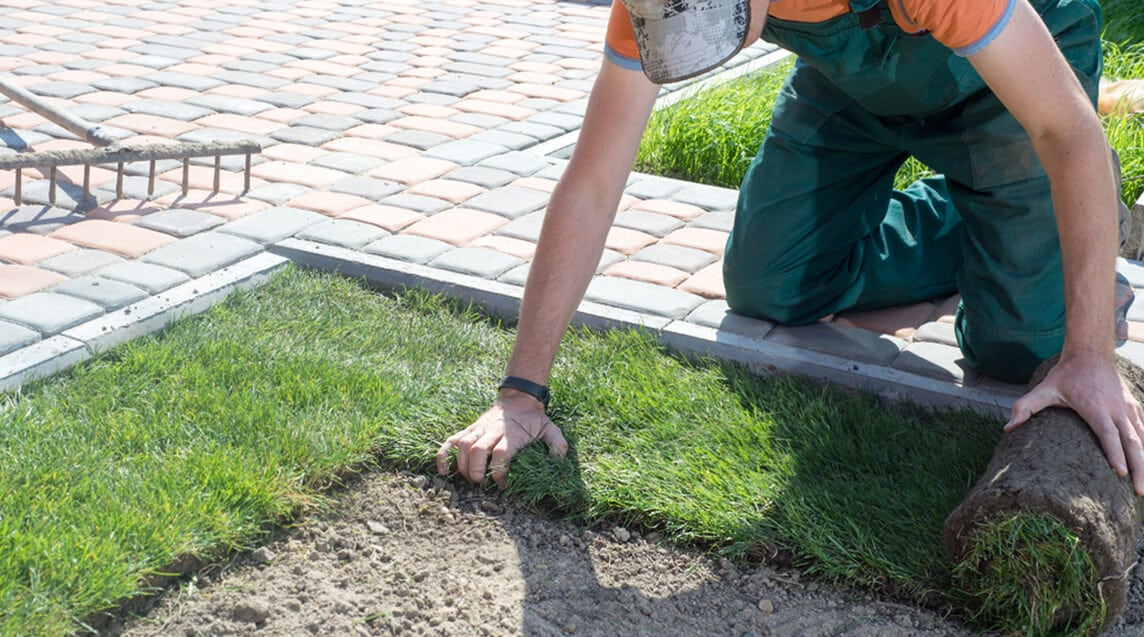
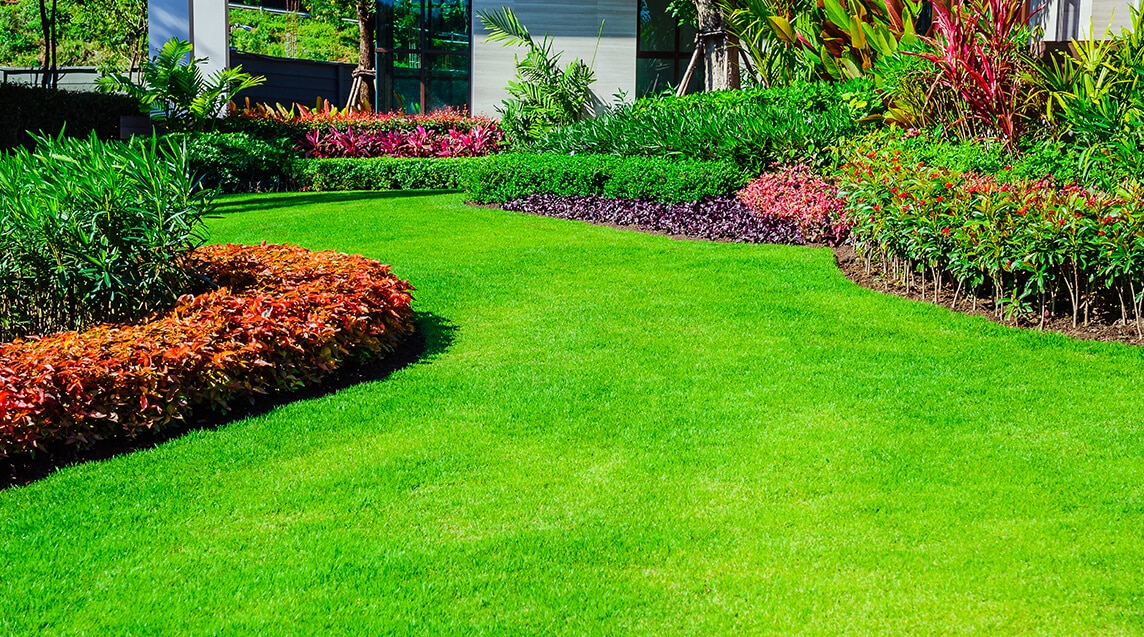
Put Life Back Into Your Guelph Lawn With Green Sod
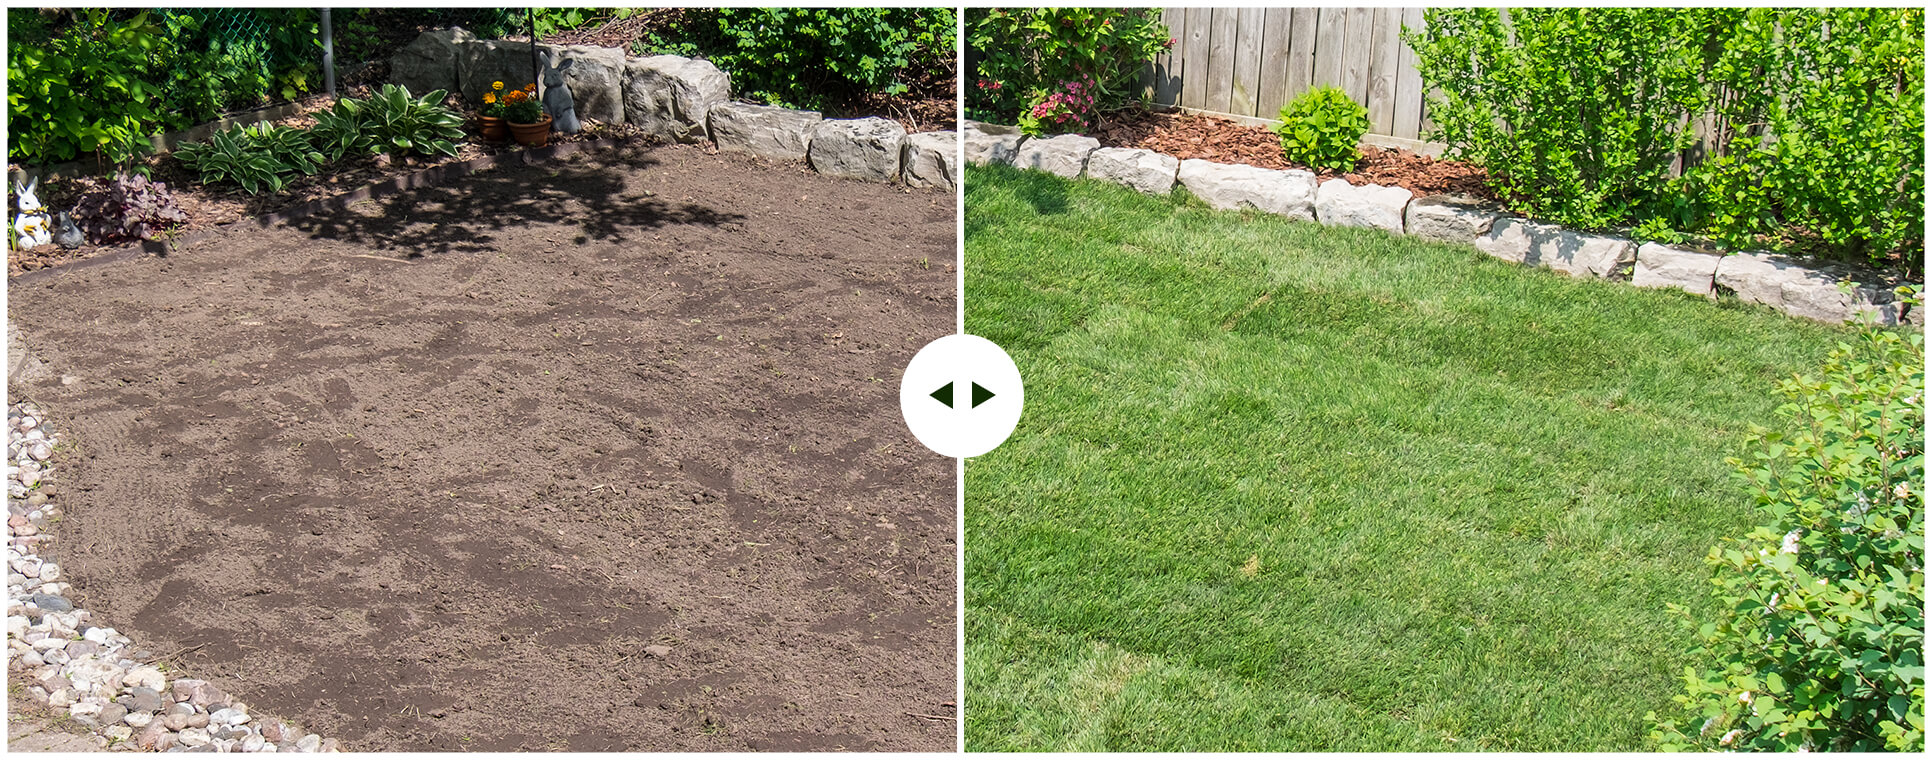

Before
After
WE DON'T ONLY OFFER SOD INSTALLATION!
We also offer full grounds care services and other landscape projects.
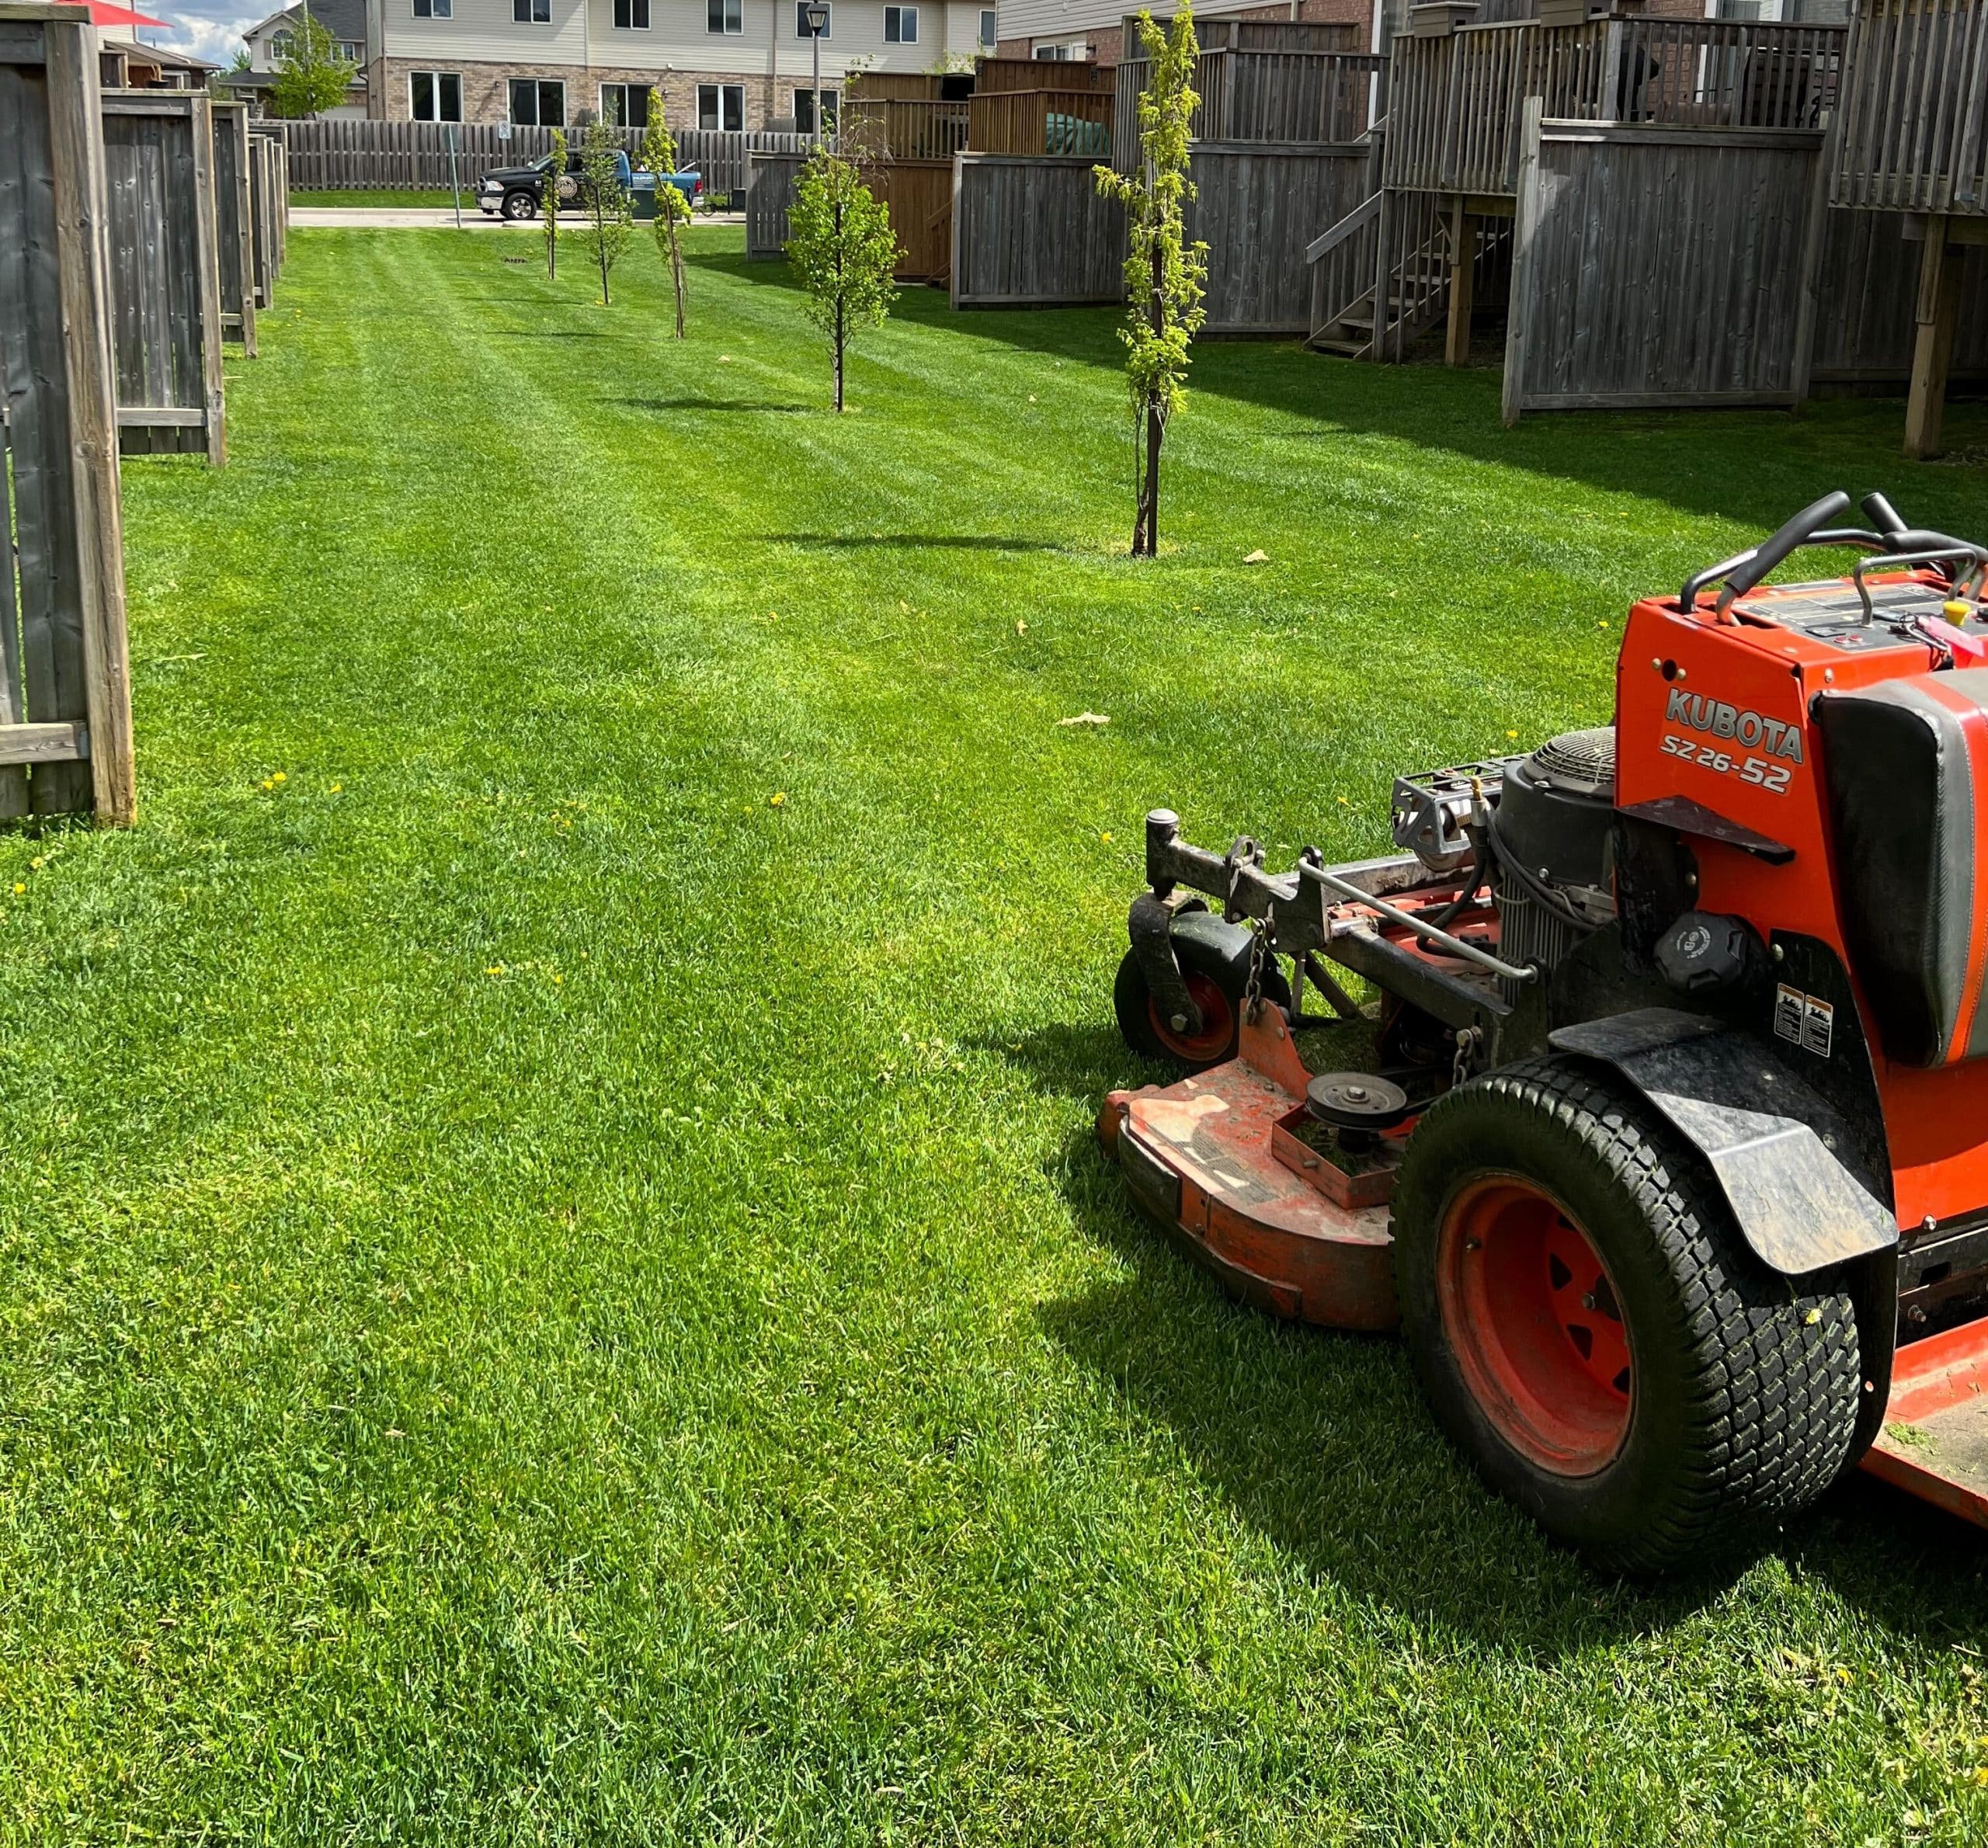
Commercial Grounds Care
- Lawn Mowing and Trimming
- Weed Control
- Pest Control
- Fertilization
- Lawn Aeration
- Lawn Rolling
- Spring and Fall Cleanups
- Garden Maintenance
- Tree and Shrub Trimming/Pruning
- Snow Removal
- Ice Prevention
Property Maintenance
- Landscape Design
- French Drain Construction
- Grub Management
- Lawn Aeration
- Fertilizing
- Mulch Installation
- Garden Bed Construction
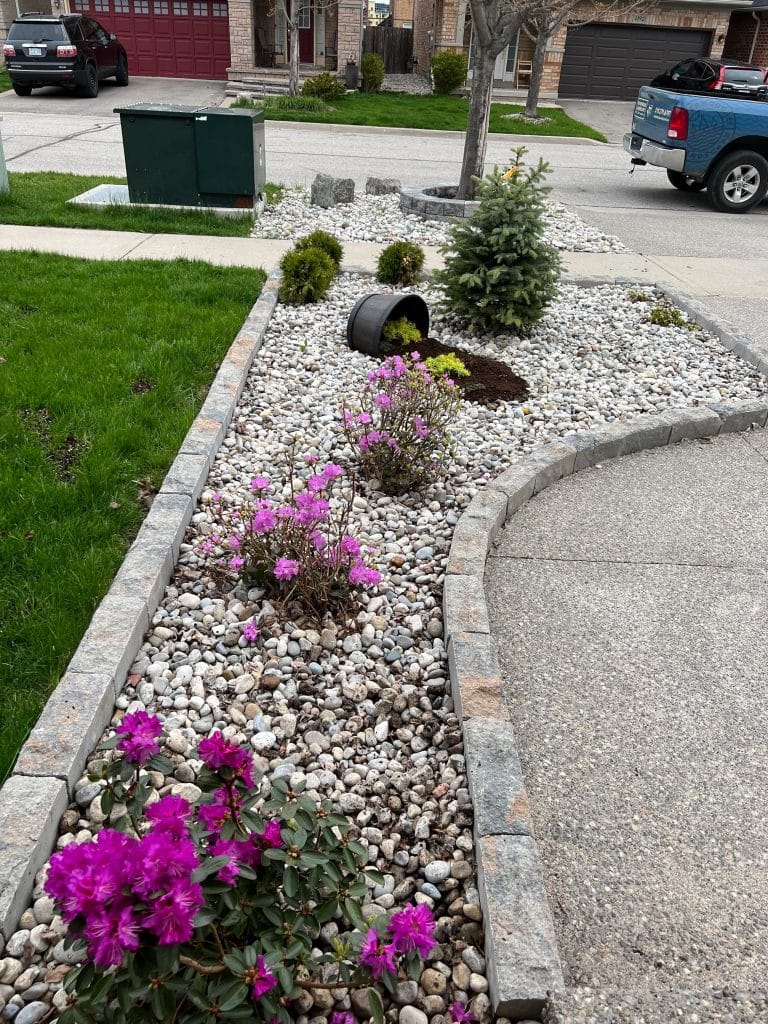
condominium OR COMMERCIAL PROPERTY maintenance

condominium
Elevate your Guelph condominium living experience with our expert landscaping services tailored specifically for your community. At Riverwood Landscape, we understand the unique needs of condominium associations and are dedicated to enhancing the aesthetic appeal and functionality of your property. From meticulous lawn care and garden maintenance to innovative landscape designs and seasonal decorations, our skilled team is equipped to transform your outdoor spaces into vibrant retreats that residents can truly enjoy. We provide a fresh, solution-orientated approach and responsive communication to ensure your complex stays up to your standards. Partner with us to elevate your condominium's curb appeal and create a welcoming environment that fosters community pride and satisfaction.

Commercial
Property maintenance is an important part of running any Guelph business. Not only does lawn care help maintain the health and safety of your business, but it also creates a beautiful appearance that attracts customers. A lush green lawn, beautiful flower beds and a timeless stone walkway can be what attracts customers into your restaurant or business. Our company can care for your professional lawn and gardens with ease with a weekly service. In the winter, our snow removal and ice prevention services can clear parking lots and walkways of snow and ice to maintain accessibility and safety for your customers. After the snow has melted and spring has returned, we will visit your property to remove leaves and other debris to help get your landscape started off on the right foot.


OUR CREW
Lorem ipsum dolor sit amet, consectetur adipiscing elit, sed do eiusmod tempor incididunt ut labore et dolore magna aliqua. Euismod elementum nisi quis eleifend quam adipiscing. Congue quisque egestas diam in arcu cursus. At volutpat diam ut venenatis tellus. Eget gravida cum sociis natoque penatibus et magnis. Donec adipiscing tristique risus nec feugiat in
Our Featured Services
If your lawn is experiencing drainage issues, is looking rather brown, or if you want to replace a stone patio with fresh sod, we have the right solution for you.
We can take care of all your lawn care needs. From grass cutting to tree trimming, weed prevention, leaf removal, and more.
Drain water from your property the right way. Riverwood Landscape will install a stunning french drain in your property to stop water from pooling on your lawn or flooding your basement.
After the long, cold winter months come to an end and the temperatures start to rise, it is time to prepare your lawn for the coming spring and summer seasons. Riverwood Landscape can help get your lawn off to the right start with our expert spring cleaning service.


